Creating a DIY minimalist art piece can transform a space and express individual style. Simple materials and creative thinking can yield striking results that enhance any room. With the right approach, anyone can craft a unique artwork that reflects their taste and personality.
Minimalist art focuses on simplicity and clean lines, making it accessible for crafters at any skill level. Whether using canvas, wood, or found objects, the key is to embrace a less-is-more philosophy. This not only makes the process enjoyable but also results in a piece that stands out for its clarity and elegance.
By following a few straightforward steps, anyone can develop their own minimalist art piece. The journey encourages self-expression while allowing for a personalized touch in home decor. Each creation represents a blend of creativity and simplicity that can inspire others.
Choosing Your Materials
Selecting the right materials is essential for creating a minimalist art piece. The quality and type of materials will greatly impact the final result, from the canvas to the paint. Here are some important aspects to consider.
Selecting the Right Canvas
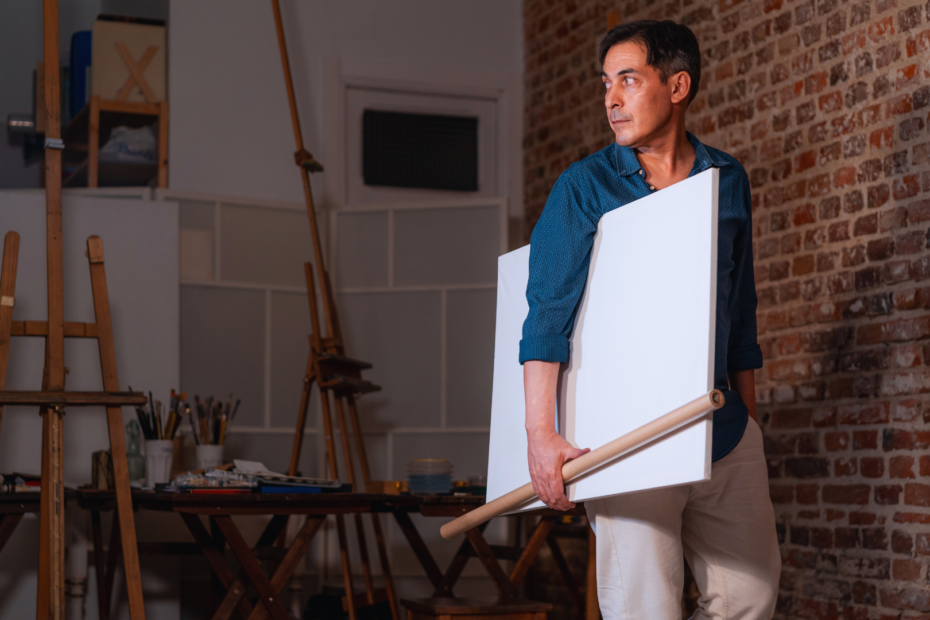
When choosing a canvas, artists should consider the texture and size. Popular options include stretched canvas, canvas boards, and watercolor paper. Each type offers a different feel and level of absorbance.
- Stretched Canvas: This option is ready to paint on and provides a nice bounce when applying paint.
- Canvas Boards: Thinner than stretched canvas, they are portable and ideal for smaller projects.
- Watercolor Paper: A great choice for those who prefer a textured surface, especially for less traditional approaches.
The size can affect the piece’s minimalist aesthetic. Standard sizes include 12×16 inches and 24×36 inches, but ultimately, the choice should reflect the artist’s vision.
Types of Acrylic Paints
Acrylic paints are versatile and dry quickly, making them suitable for various techniques. Artists can choose between different forms, such as heavy body, soft body, and fluid acrylics.
- Heavy Body Acrylics: Thick and ideal for creating texture, perfect for impasto techniques.
- Soft Body Acrylics: Smooth and fluid, these paints are great for glazing and blending.
- Fluid Acrylics: Thin and transparent, fluid acrylics are excellent for washes and pouring techniques.
Selecting a brand can also influence the outcome, as some brands offer higher pigment concentrations for more vibrant colors. It’s important to test a few to identify what works best for the intended style.
Understanding Painter’s Tape
Painter’s tape is an invaluable tool for achieving clean lines in minimalist art. It comes in various widths and can adhere to multiple surfaces.
- Width Options: Common widths include 1/4 inch, 1/2 inch, and 1 inch, allowing for flexibility in design.
- Adhesiveness: Different tapes offer varying levels of stickiness. Low-tack tape is suitable for delicate surfaces, while standard tape can be used on most canvas without damage.
Applying the tape carefully can create sharp, defined edges, enhancing the minimalist aesthetic. It’s advisable to press down the edges firmly to prevent paint from seeping underneath.
Preparing Your Workspace
An efficient workspace is crucial for creating a DIY minimalist art piece. Proper lighting and organized supplies will enhance focus and streamline the painting process.
Setting Up Adequate Lighting
Lighting plays a vital role in the creative process. Natural light is ideal, so consider working near a window during the day. If that’s not possible, use bright, white LED bulbs to mimic daylight.
To minimize shadows, position your light source at an angle to your workspace. Adjustable lamps can provide flexibility and direct light exactly where needed.
It’s important to avoid harsh overhead lighting, which can distort colors. Dimming options are beneficial, allowing adjustments as needed throughout the painting process to maintain clarity.
Organizing Painting Supplies
An organized workspace leads to increased efficiency. Begin by gathering all painting supplies, including brushes, paint, palette, and canvas.
Group items by type for easy access. Use containers or trays to keep smaller items from getting lost.
Label boxes or containers, which can save time looking for specific tools. A roll of masking tape is useful for securing edges and marking lines.
Have a clean water container on hand for rinsing brushes, along with paper towels for easy cleanup. An orderly setup fosters creativity and minimizes distractions during the art-making process.
Creating Your Artwork
This section focuses on specific steps to create a minimalist art piece. The detailed process includes designing the layout, effectively using painter’s tape, and applying paint techniques with acrylic paints.
Designing the Layout
Start by determining the size of the artwork. Consider using a canvas or a wooden board as the base. Visualizing the final piece can help in the design phase.
Sketch different layouts on paper. Minimalism thrives on simplicity, so select a few geometric shapes or lines. Focus on using negative space effectively.
Choose a color palette that reflects the aesthetic desired. Limiting colors to two or three can enhance the minimalist appeal. Light, neutral tones often work well, but a bold color can also make a statement.
Applying Painter’s Tape
Painter’s tape is essential for achieving clean, crisp lines in minimalist art. Begin by measuring the areas where paint will be applied. Press the tape down firmly to prevent paint from bleeding underneath.
When applying the tape, use a straight edge or ruler to ensure precise lines. This adds a professional touch to the artwork.
For complex designs, consider layering the tape. Make sure to remove the tape while the paint is still slightly wet to avoid peeling the dried paint. This technique will help maintain the integrity of the lines.
Paint Application Techniques
Using acrylic paints allows for versatility in texture and finish. Choose brushes of various sizes depending on the area being painted. A foam brush can create even coverage on larger areas, while finer brushes are better for details.
Apply the first coat of paint evenly. If transparency is desired, one coat may suffice. For a bolder look, multiple layers can enhance depth.
Experiment with techniques like dry brushing or sponging. These can add subtle texture without overpowering the minimalist design. Allow each coat of paint to dry completely before adding additional layers to maintain a clean finish.